
For a well-formed glute and a stable hip, there’s hardly a more targeted strength exercise than the hip thrust. Hip thrusting precisely targets the glute muscles and delivers noticeably more strength. In our guide, you’ll learn which muscles work during this exercise, how to perform its various variations correctly, and which equipment is best for doing hip thrusts at home in your home gym.
What is a hip thrust?
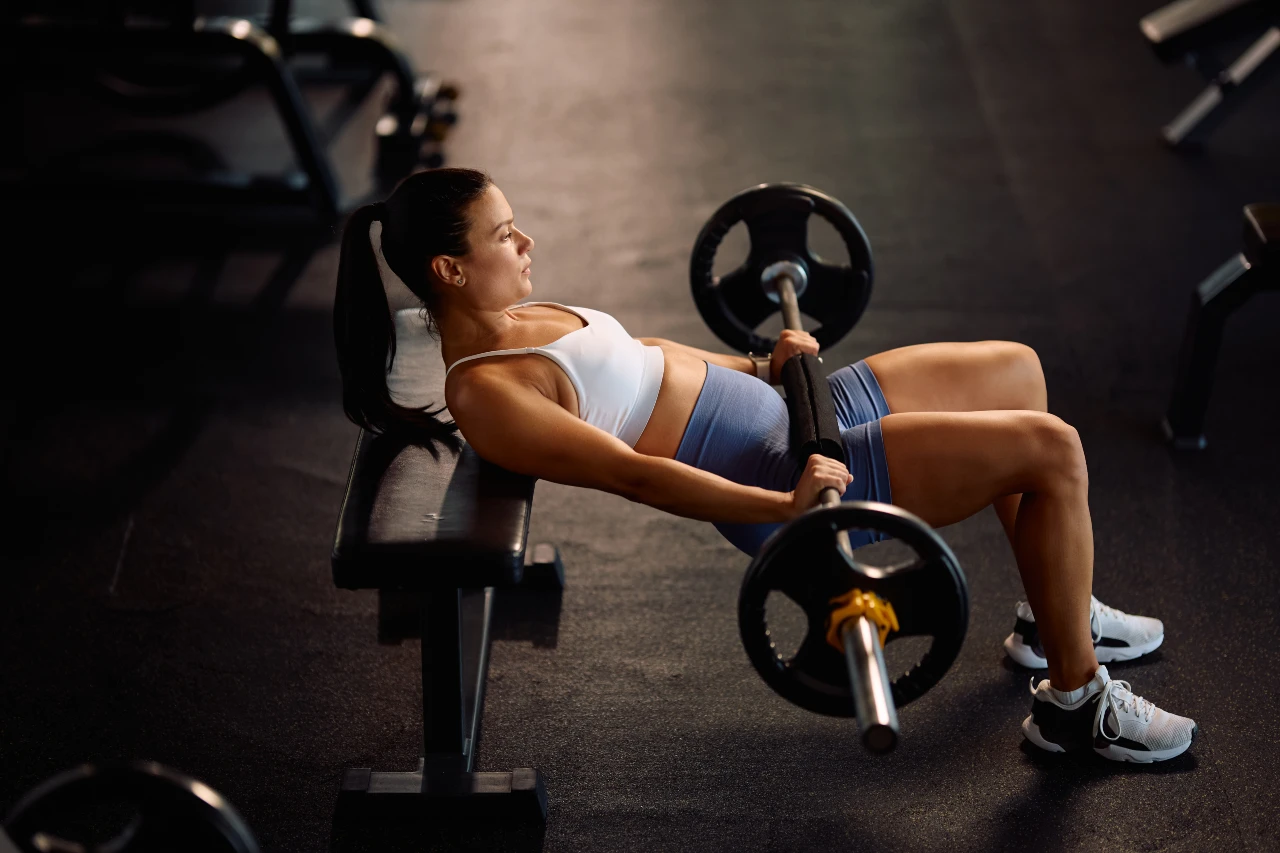
The hip thrust is a hip extension exercise. The classic version: you lie with your upper back elevated on a weight bench, place a barbell or dumbbell across your hips, and forcefully push your pelvis upward. The movement occurs almost exclusively at the hip, while the knees and back stay stable.
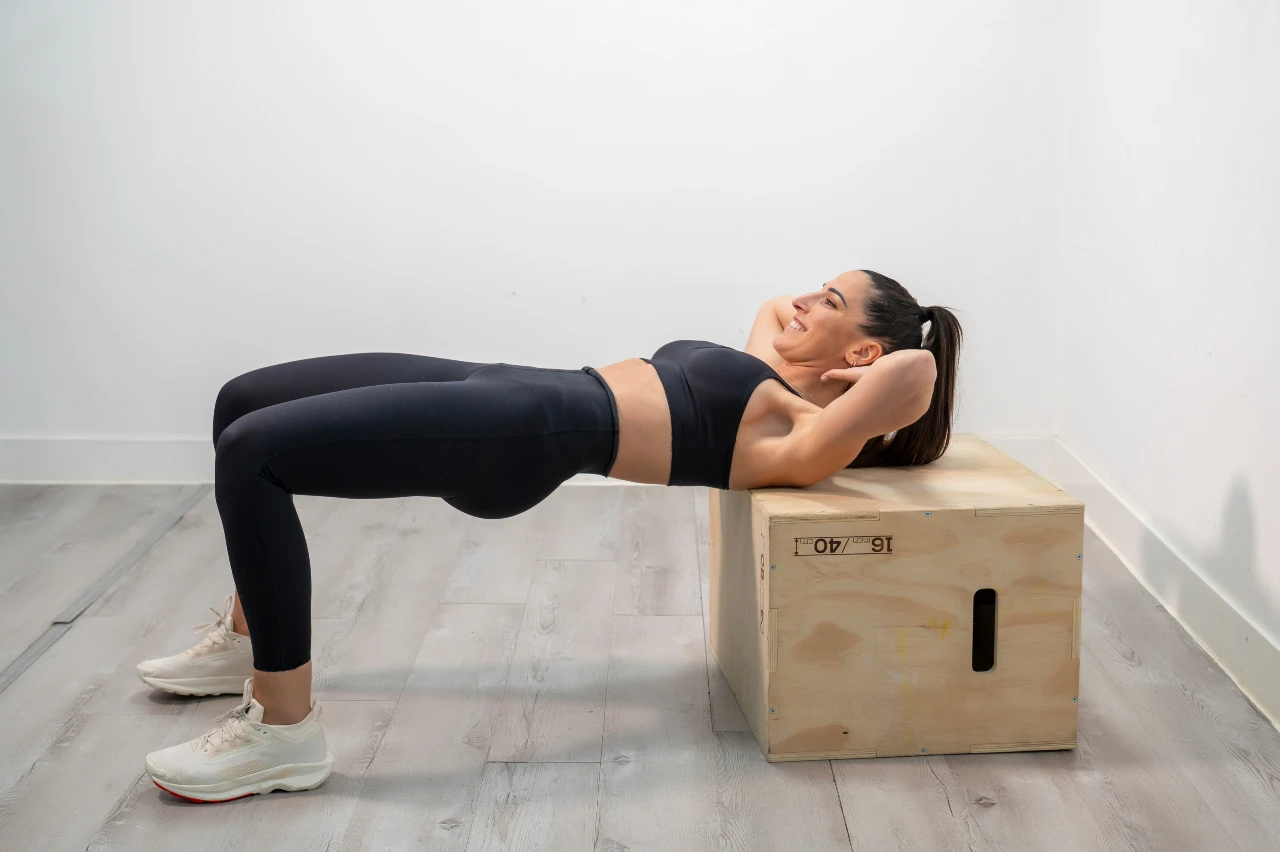
The difference from the related glute bridge is the elevated shoulder position, which noticeably increases the range of motion. At the top of the movement, tension in the glutes reaches its peak, right where many other exercises have already tapered off. That’s what makes this strength exercise so effective.
Which muscles does the hip thrust train?
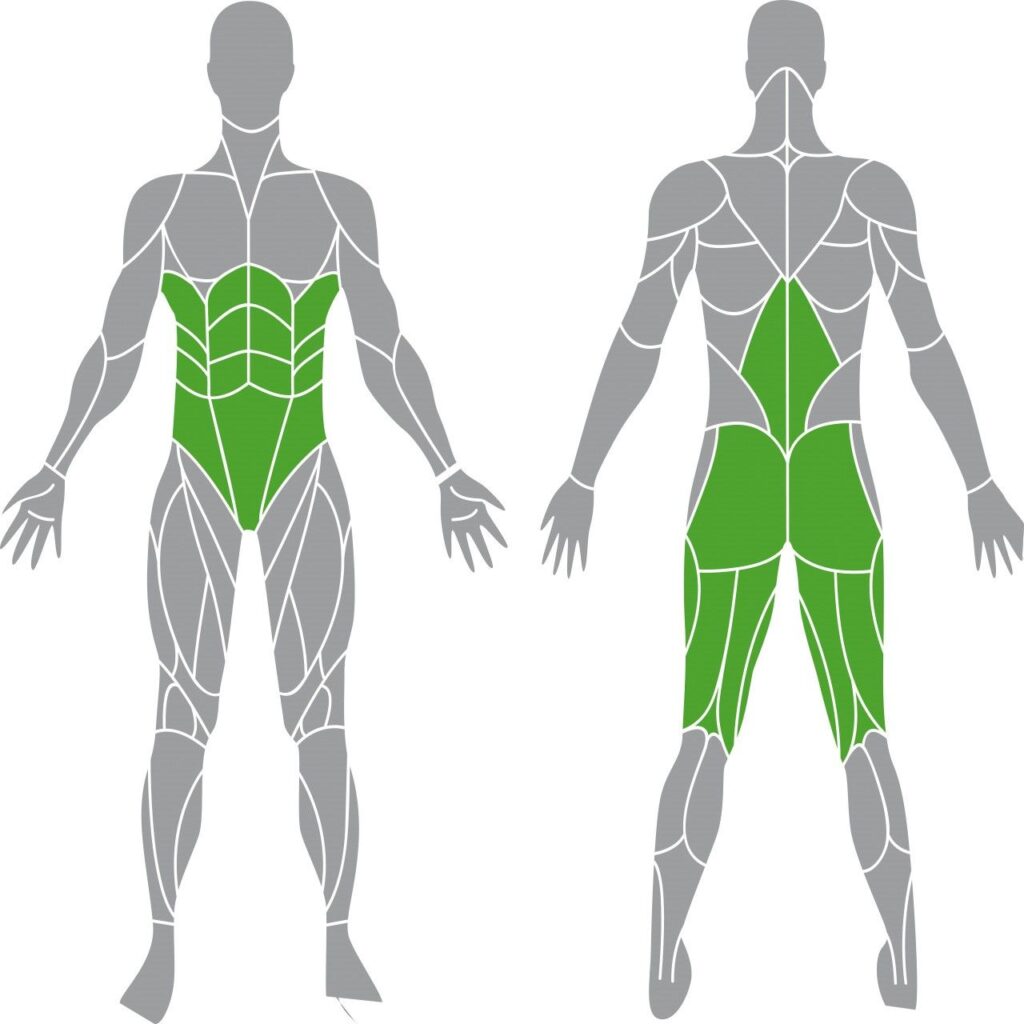
The “hip thrust” is considered the best single exercise for the glutes. However, several muscle groups work together to make sure the pelvis rises cleanly:
- The gluteus maximus: The largest glute muscle is the engine of the movement. It extends the hip and carries the main load when pushing up, especially in the top third of the movement.
- The gluteus medius and minimus: The smaller lateral glute muscles stabilize the pelvis and keep the knees tracking properly, preventing the hips from tilting sideways.
- The hamstrings: The muscle group on the back of the thigh supports hip extension and works mainly from the lower position.
- The quadriceps: The front of the thigh keeps the knee stable at a right angle. It carries less load than during a squat, but ensures a secure stance.
- The adductors: The muscles on the inner thigh guide the legs and prevent the knees from caving inward.
- The core muscles: The abs and lower back hold the pelvis in position and protect the spine from overextending into a lower-back arch.
Training hip thrusts at home: the right fitness equipment
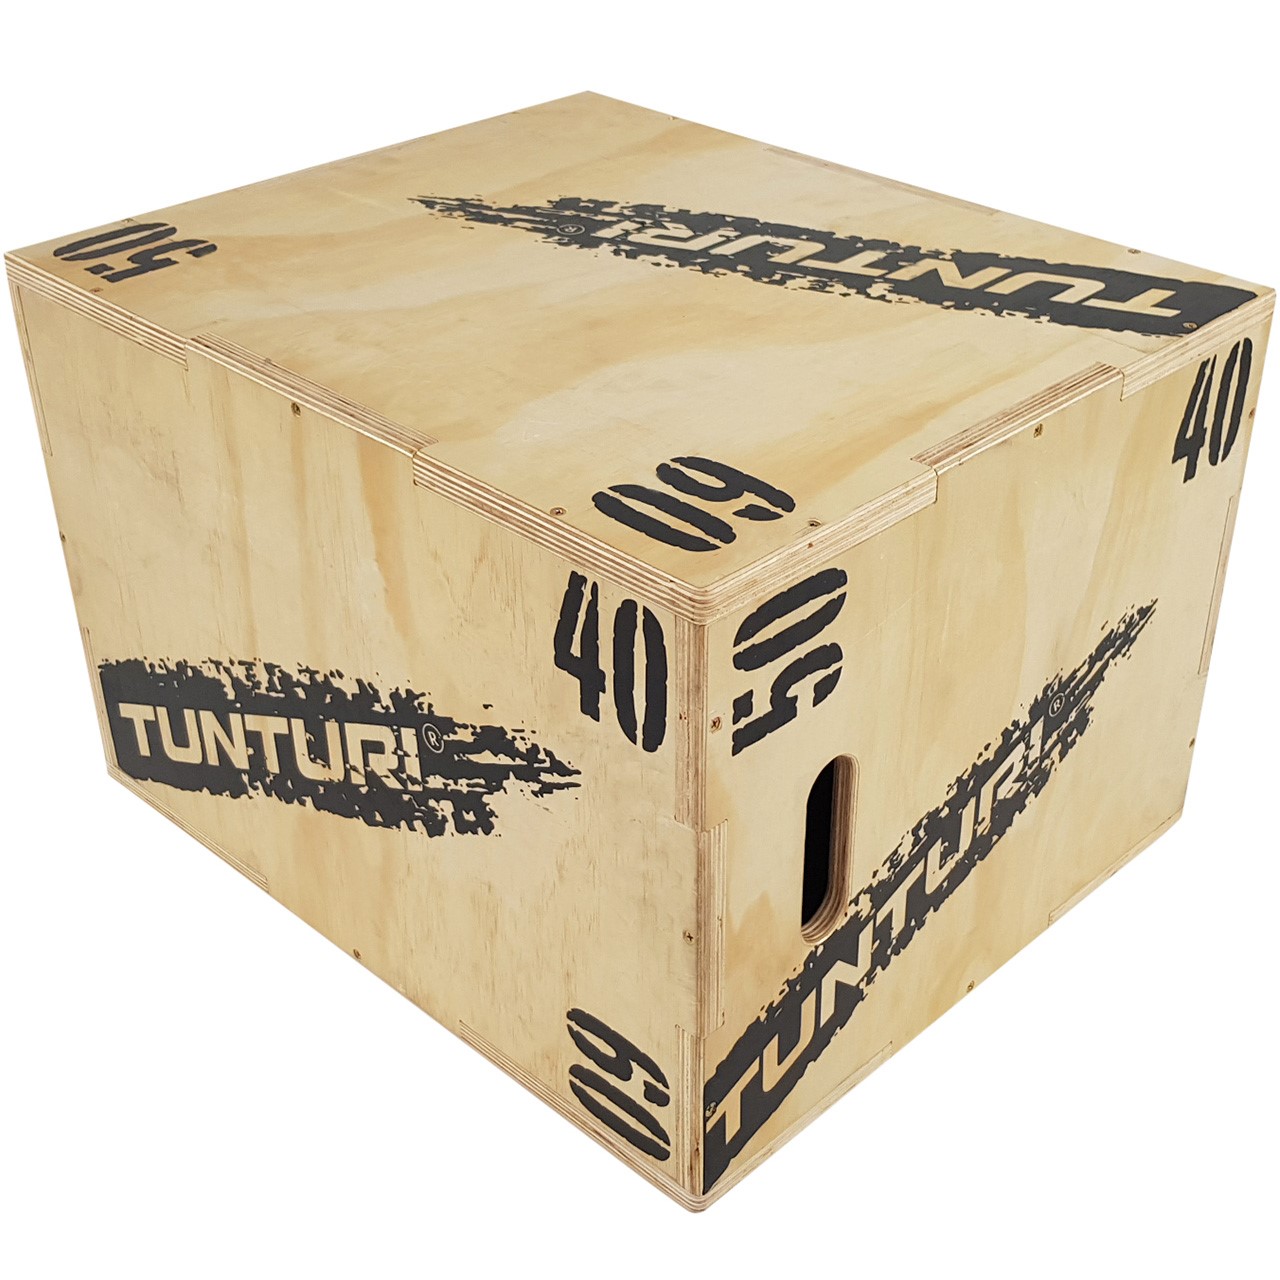
You can easily train the hip thrust strength exercise at home. A stable elevation for your shoulders and a weight on your hips, that’s really all you need at its core.
While gyms usually have a hip thrust machine on hand, at home you can either train without equipment or set up your home gym with light equipment, from resistance bands to a barbell. Here are the different hip thrust variations as alternatives to the machine:
Hip thrust without equipment
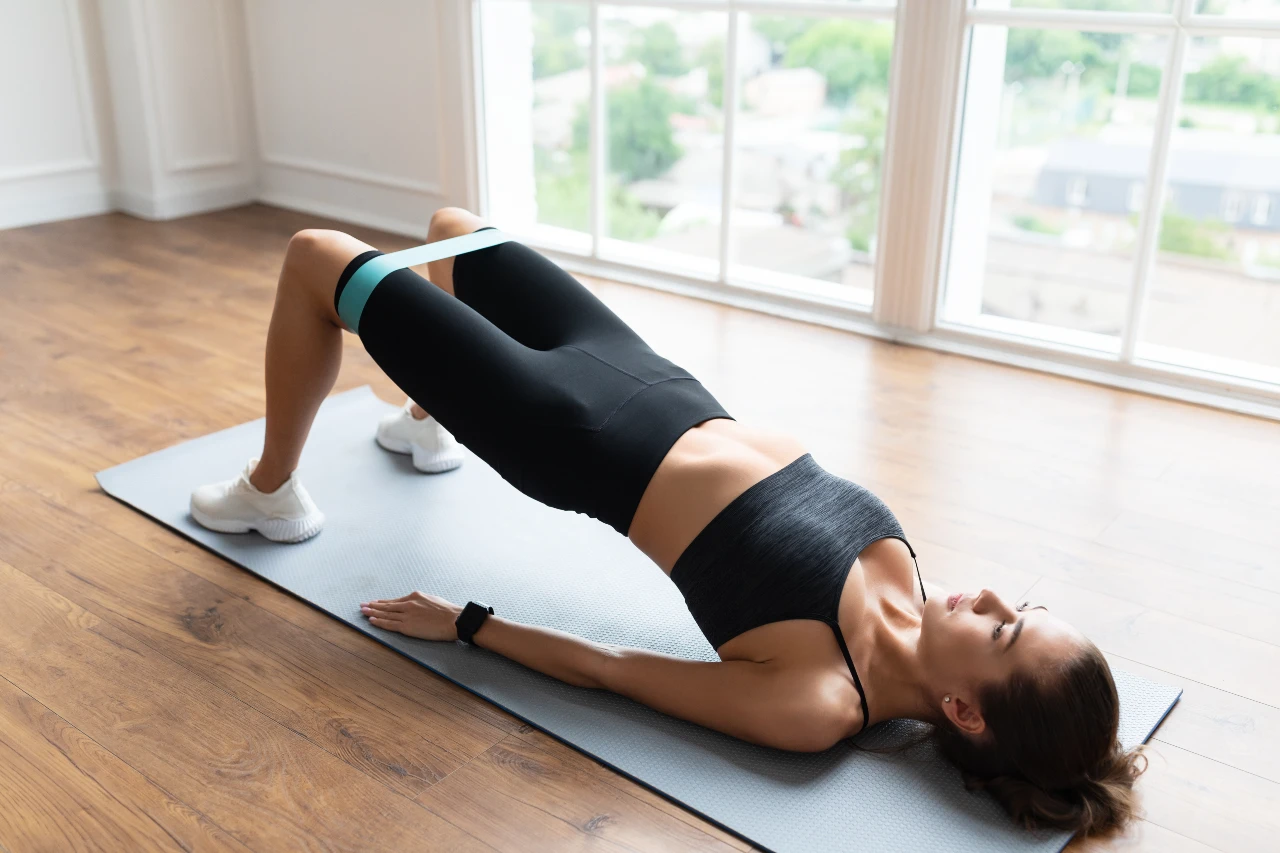
You can train using just your own body weight, no equipment needed. Lie down on a fitness mat, place your feet hip-width apart, and push your hips upward. In this floor variation, the glute bridge, the range of motion is smaller, but it’s completely sufficient for learning the technique. For more depth, place your shoulders on the edge of a couch and immediately gain more range.
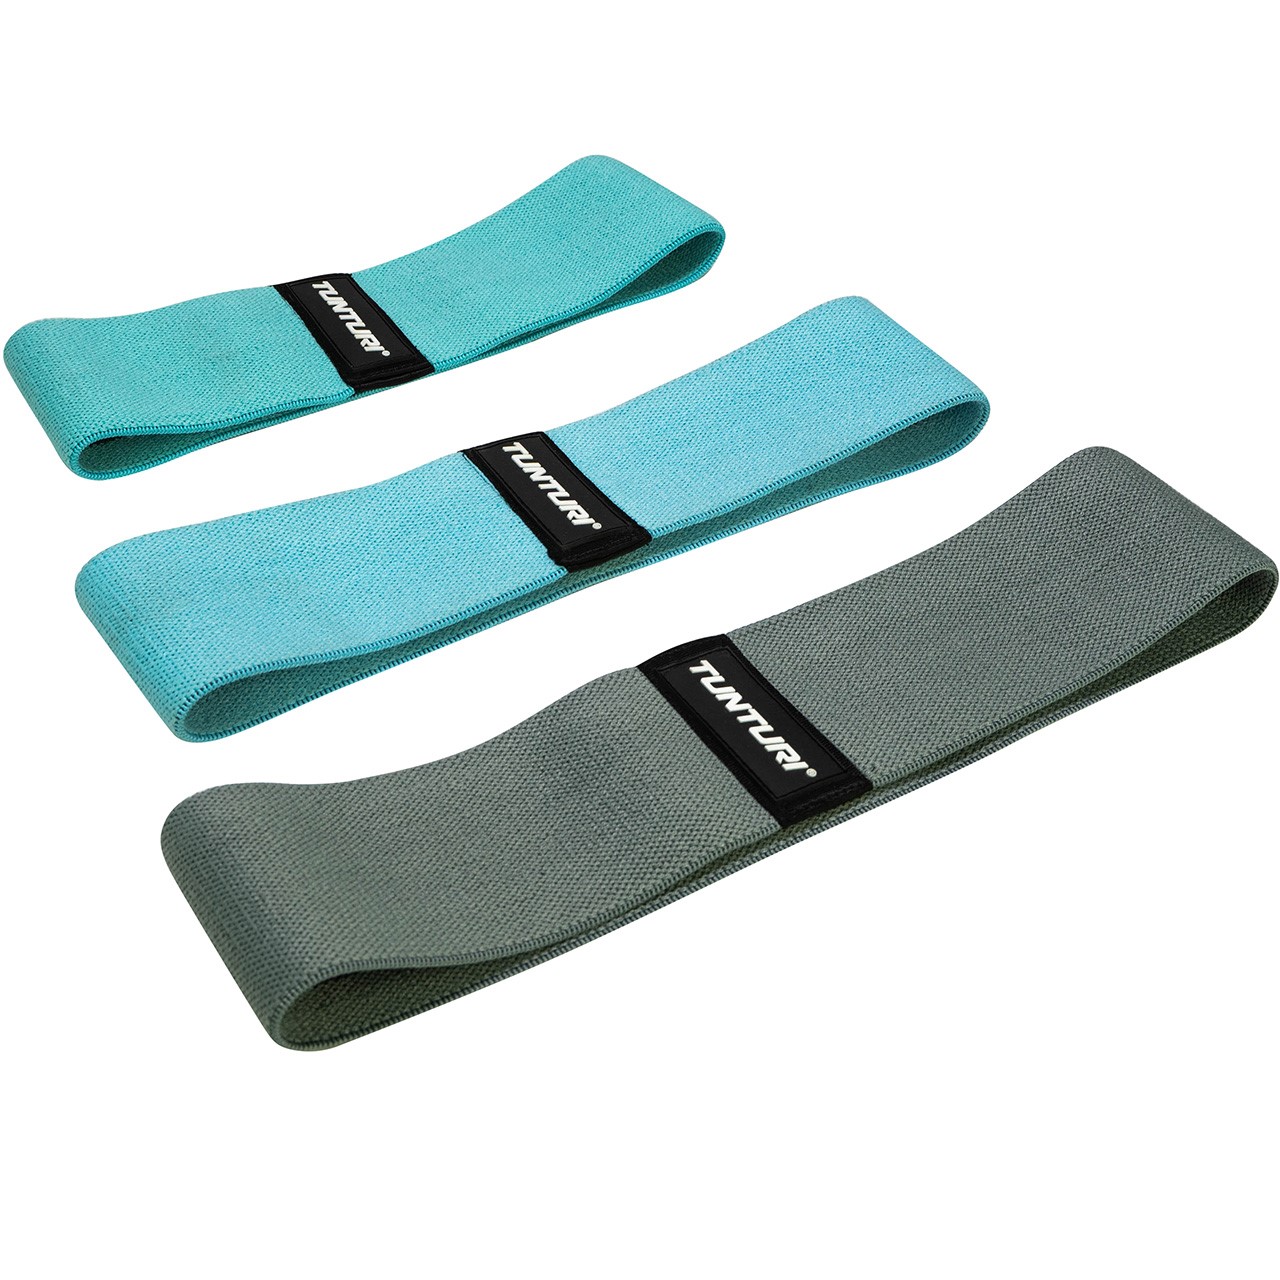
Hip thrust with band
A step up in intensity, but still well suited for beginners, is using a resistance band. Place it just above the knees, it pushes the legs outward and additionally challenges the lateral glute muscles. Alternatively, stretch a stronger band across the hips and anchor it to the floor. This creates the greatest resistance at the top point, exactly where the glutes work hardest. This variation is especially suited for home training since it takes up almost no space and can be finely adjusted.
© Prostock-studio – stock.adobe.com
Hip thrust with barbell
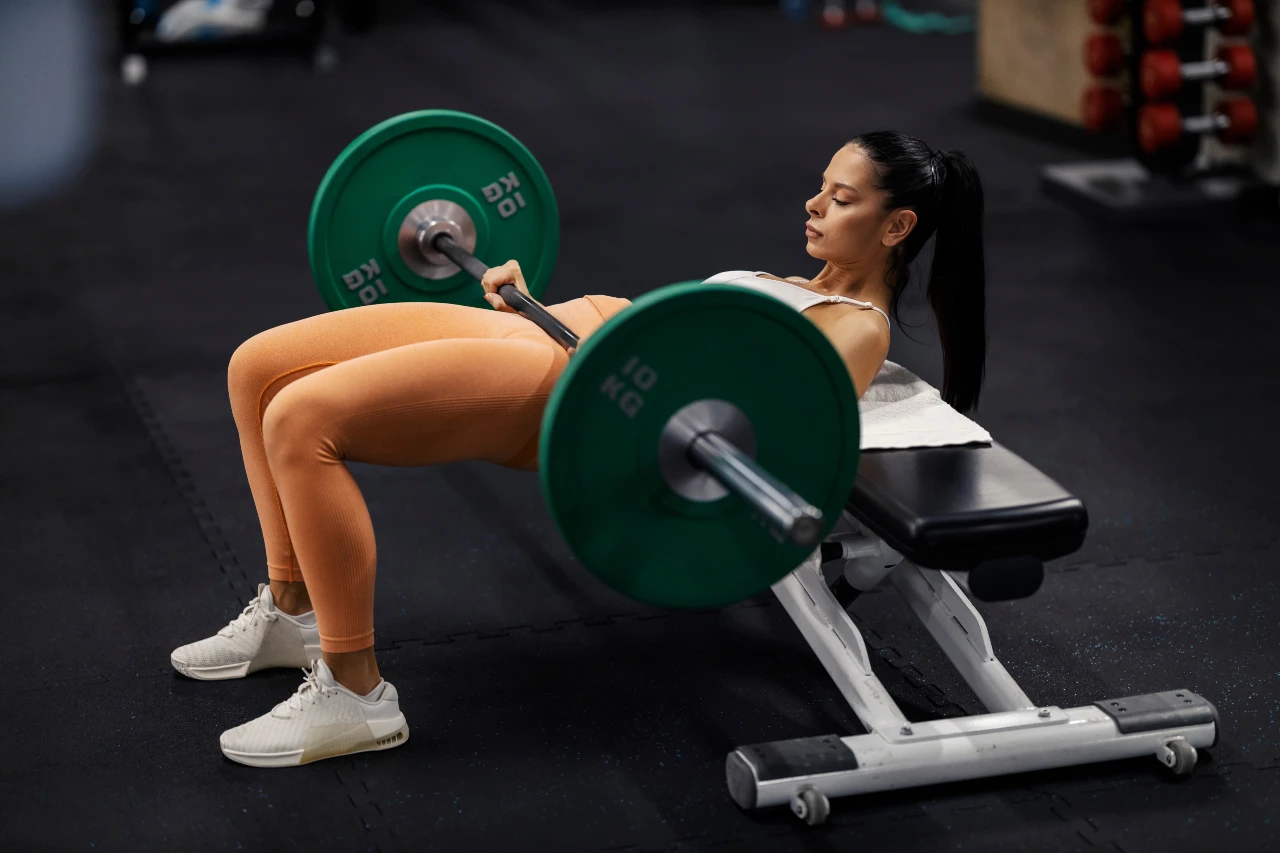
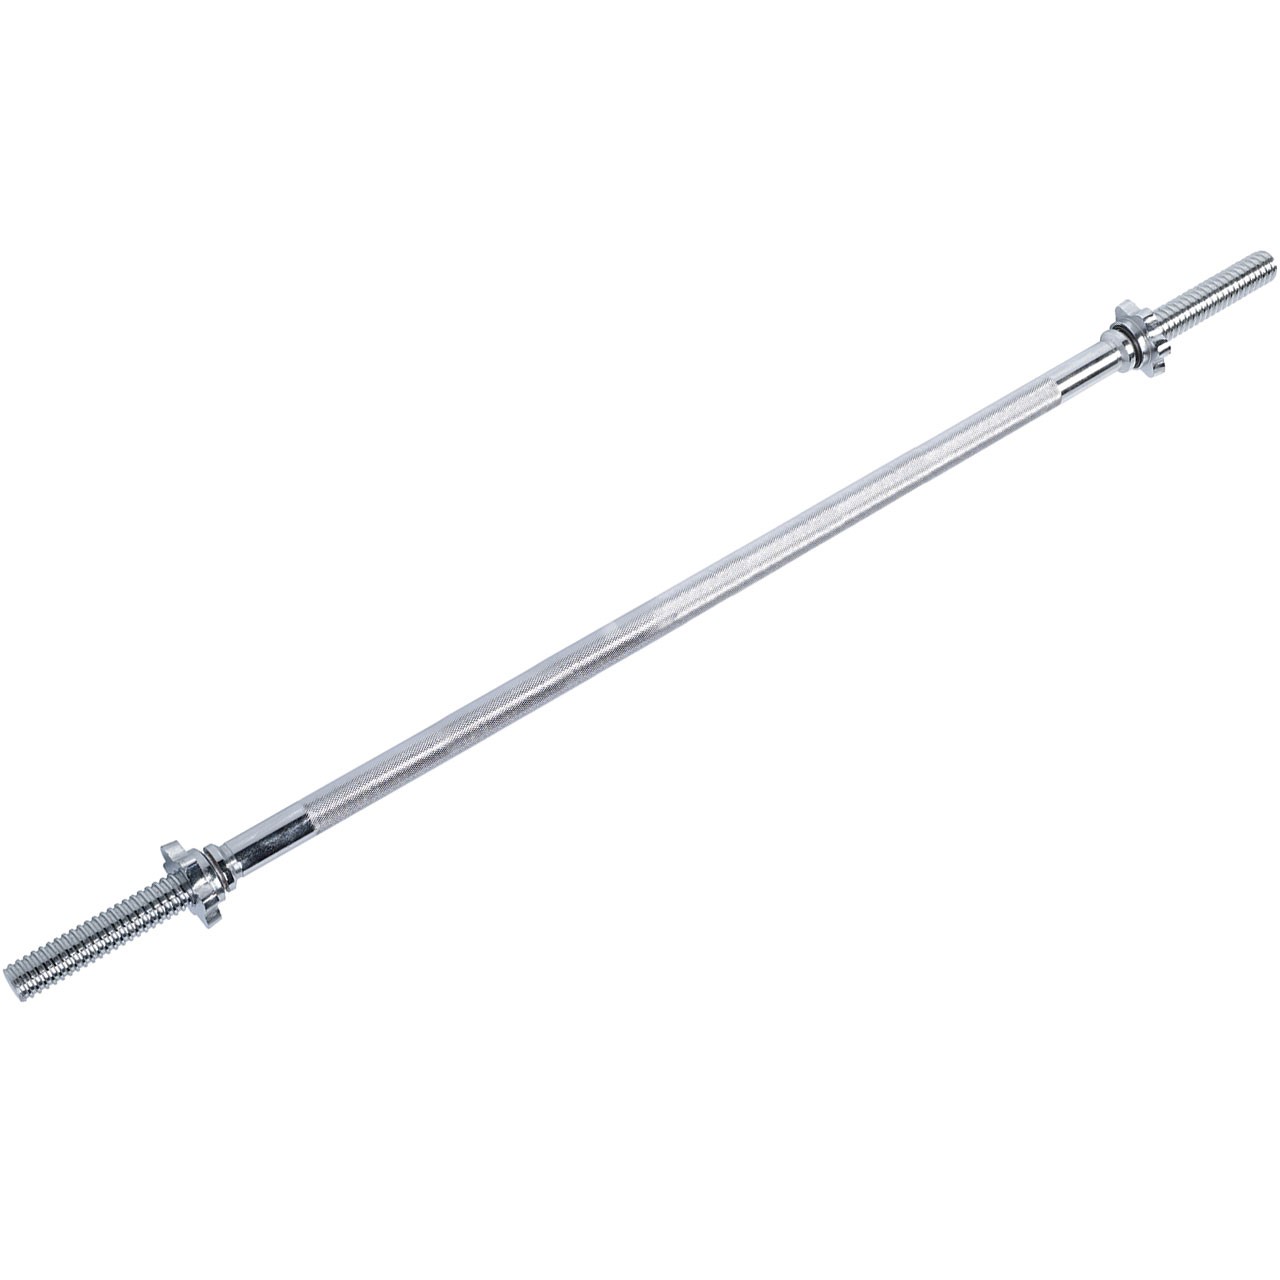
The classic and also most intense form is the barbell hip thrust. The barbell rests across the hips, with a padded cover or a rolled-up mat protecting against pressure points. Since weight plates can be added in small increments, you can increase the load precisely over months. For targeted muscle growth in the glutes, this variation is the top choice.
© Dusan Petkovic – stock.adobe.com
Hip thrust with dumbbell
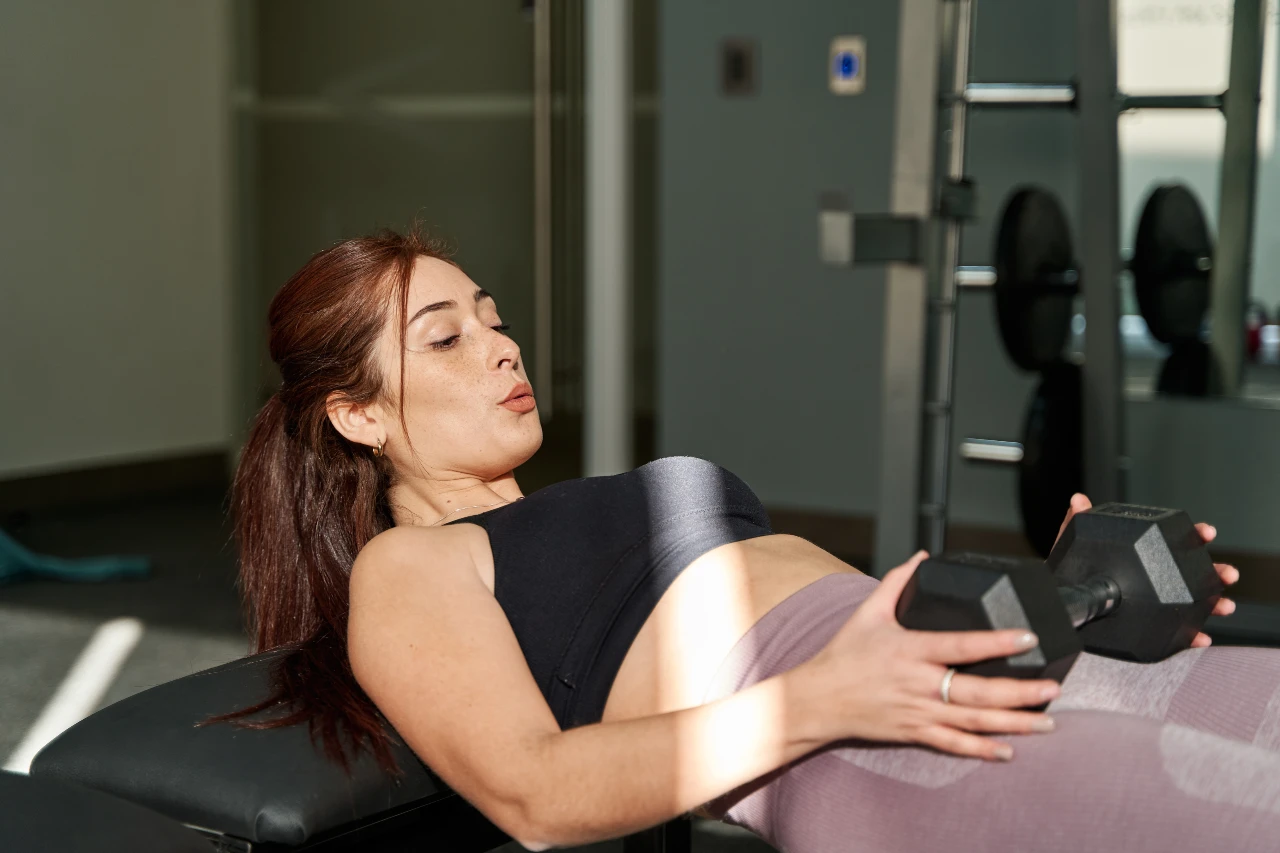
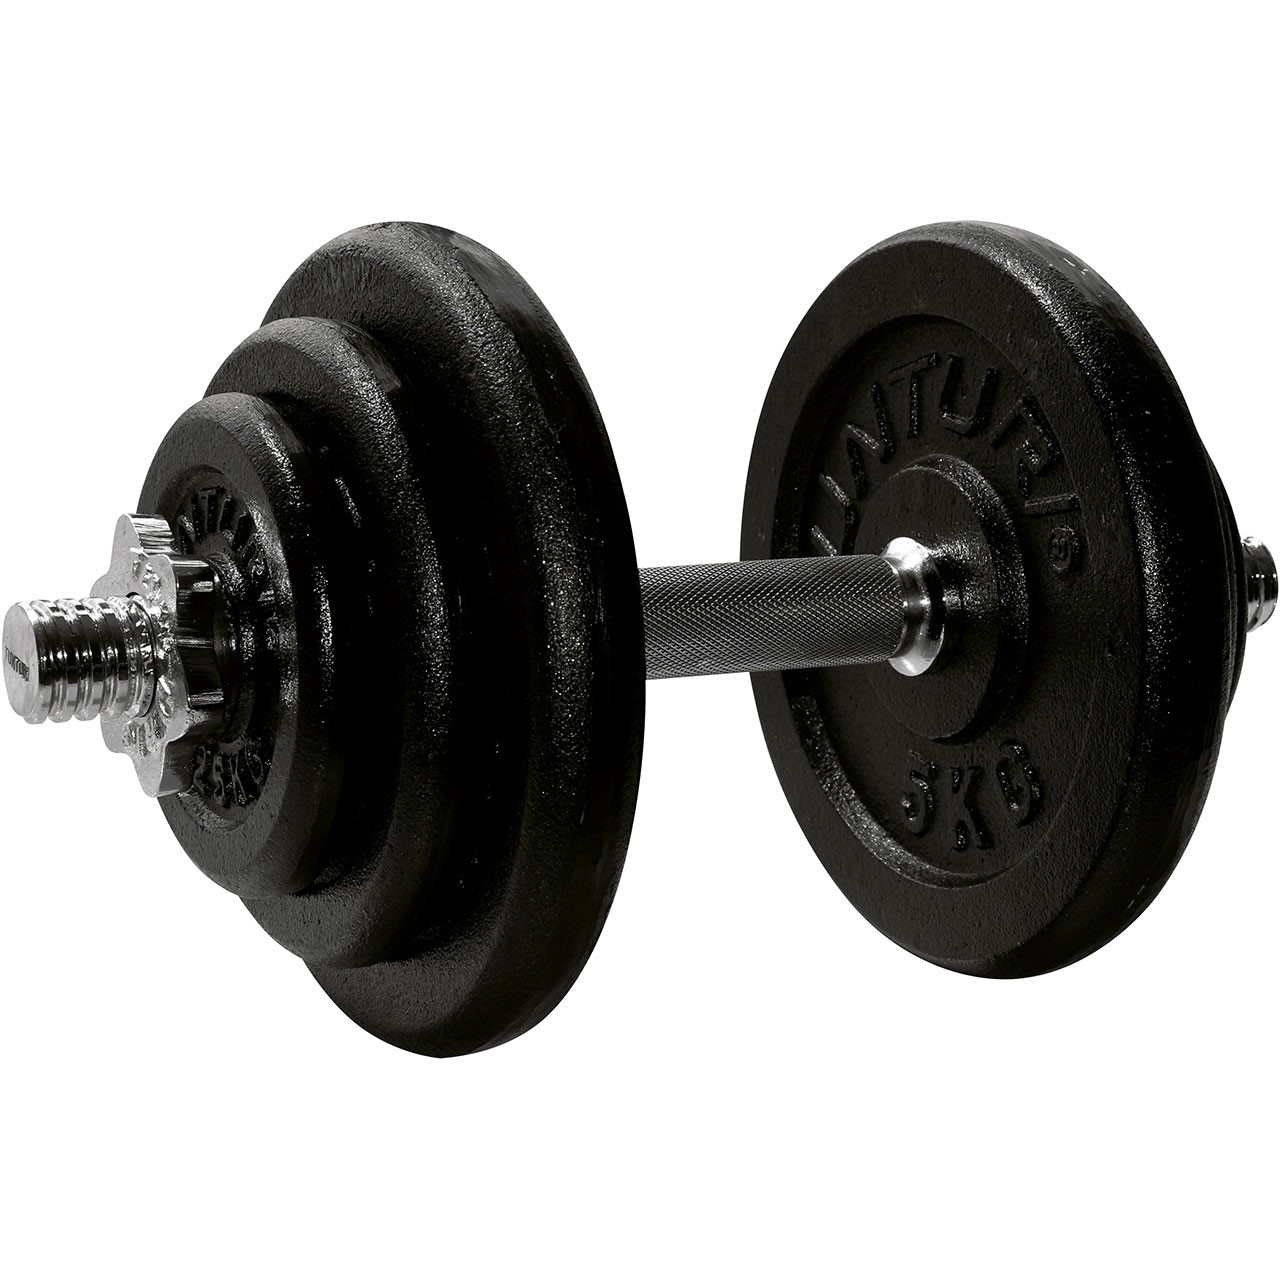
If a barbell isn’t available, a dumbbell takes over the job. Lean your upper back against the weight bench as in the barbell variation and place the dumbbell lengthwise on your hip bones. Both hands hold the weight in place so it doesn’t shift during the movement. It’s a practical solution for a compact home gym, even though the load remains limited on the higher end.
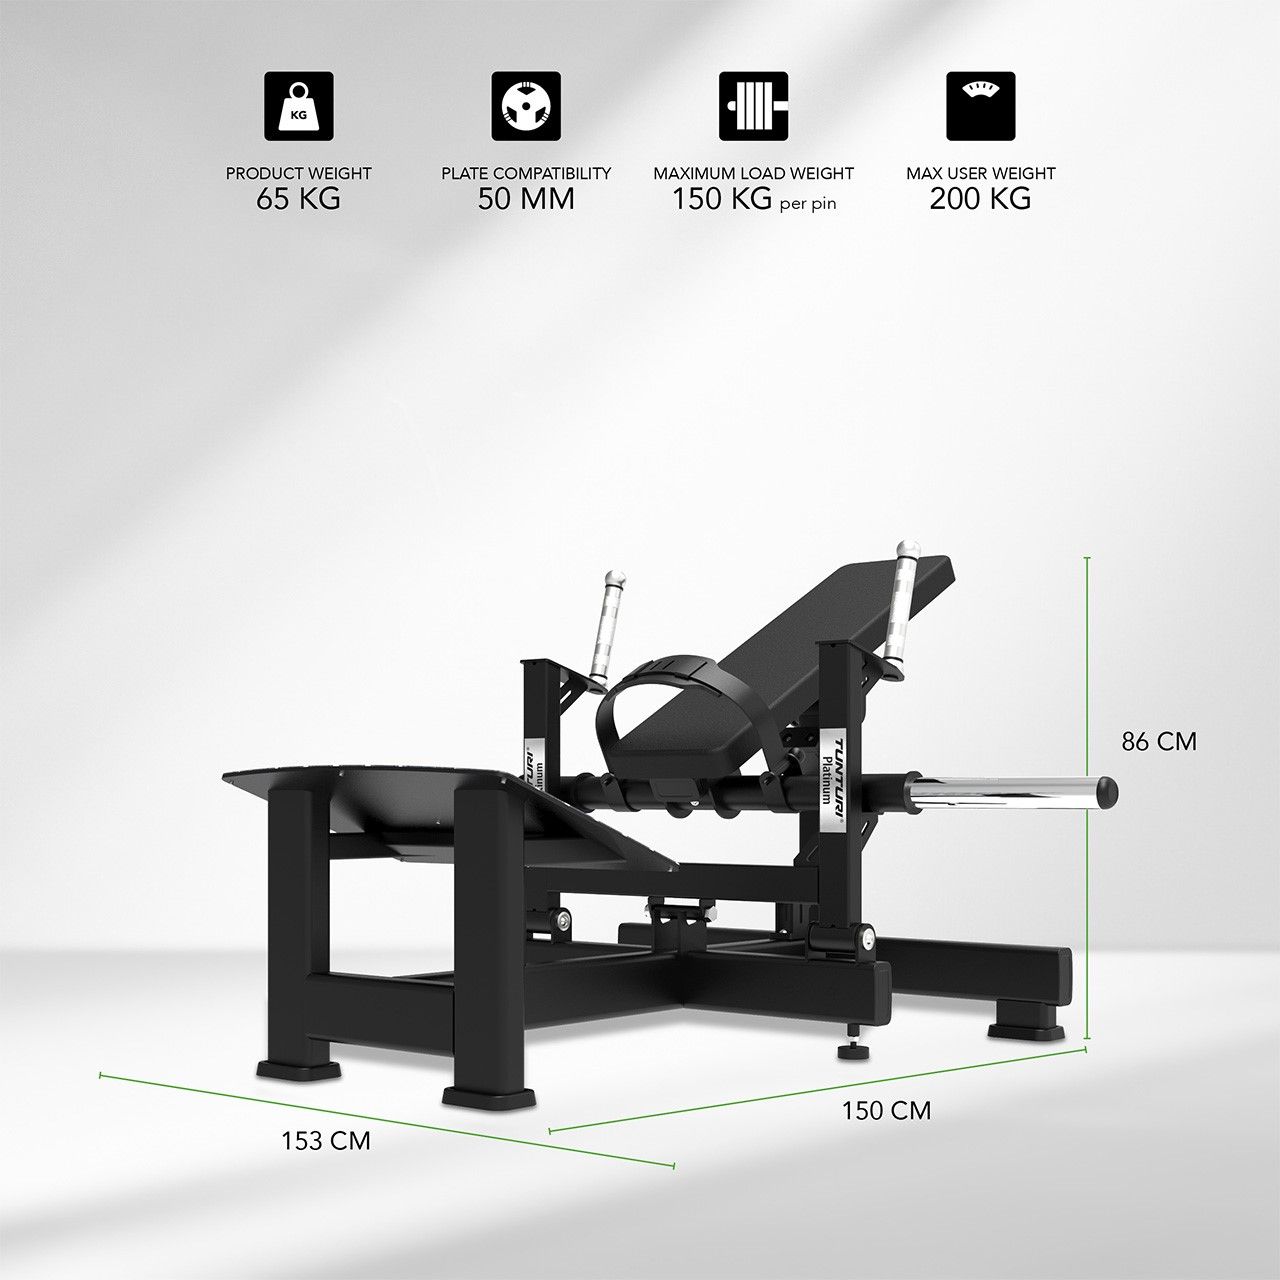
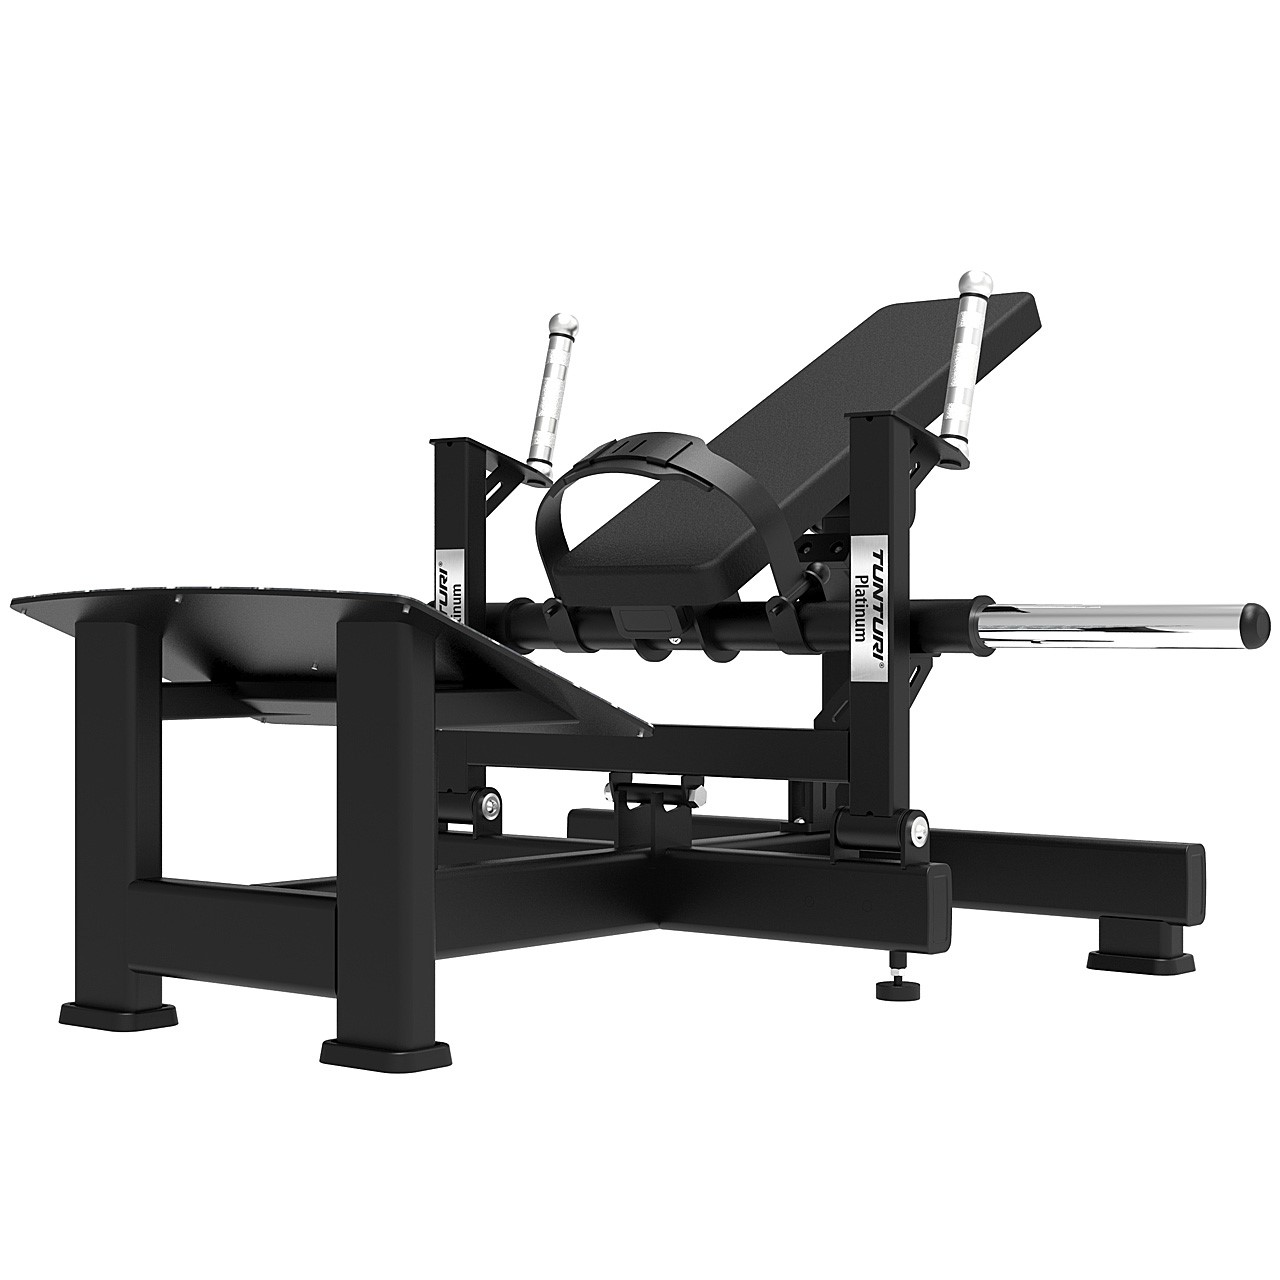
Do you have plenty of space at home and want to make the strength exercise more comfortable? Then performing your hip thrusts on a machine is exactly right for you. It guides the movement along a fixed path, secures the weight with a pad across the hips, and saves you the hassle of loading the barbell. This lets you focus entirely on squeezing your glutes instead of balancing the load.
Performing hip thrusts correctly, here’s how
Whether the exercise properly targets the glutes and hip extensors depends on technique. The biggest difference comes down to an often-overlooked detail: pelvic positioning. So take the time to first learn the movement without added weight.
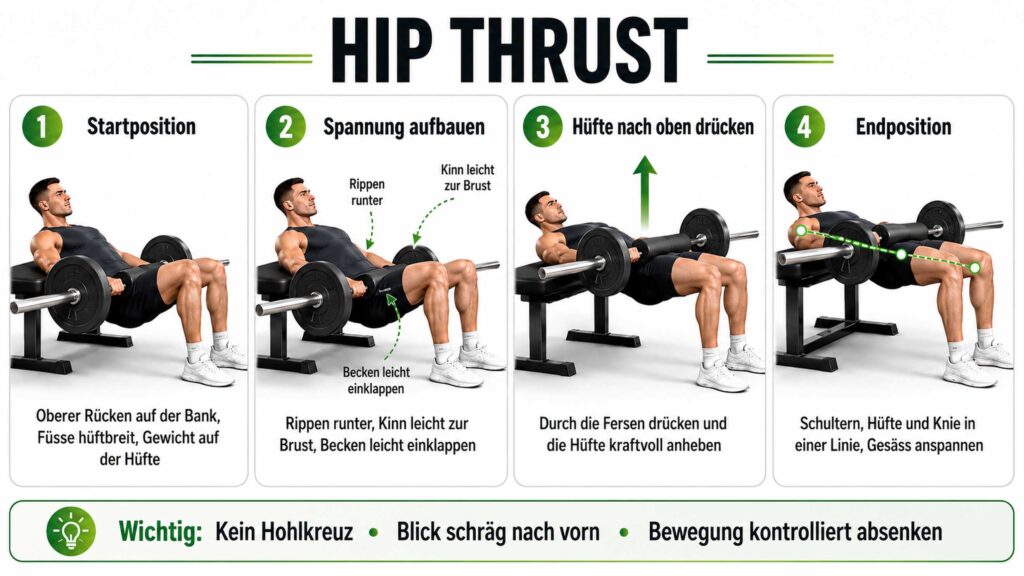
Step 1: Set up your position
Sit with your back in front of a bench about knee height or a couch, and lean your upper back against the edge so your shoulder blades rest just above it. The bench becomes the pivot point of the movement. Place the barbell across your hips, right in the hip crease. A padded cover distributes the pressure and makes the exercise noticeably more comfortable.
Step 2: Position your feet
A simple method helps you find the right stance. First extend your legs straight out in front of you and note where your knee creases land. Then pull your heels back to exactly that spot. This gives you a secure stance right away and a leg angle already close to ideal. Your feet should be hip-width apart, toes pointed slightly outward.
At full hip extension, your shins should ideally be vertical and your knees at roughly a right angle. If your feet are too far forward, the back of your thighs take on too much work. If they’re too close to your glutes, the load shifts to the front of your thighs. This final positioning detail matters!
Step 3: Tuck the pelvis and build tension
Before the weight starts moving, build baseline tension. Pull your lower ribs toward your pelvis and tuck your pelvis backward, as if drawing your pubic bone toward your belly button. This slight backward tilt, known in sports science as posterior pelvic tilt, puts the glutes in their strongest working position and takes the load off your lower back. Look straight ahead, chin slightly tucked toward your chest.
Step 4: The upward movement
Push forcefully through your heels and drive your hips upward until your shoulders, hips, and knees form a straight line. Keep the pelvis tucked throughout the entire movement. At the top, consciously squeeze your glutes and hold the position for one to two seconds. The hip fully extends without the lower back arching.
Step 5: The downward movement
Lower your hips in a controlled manner without losing tension in the glutes. Don’t let the pelvis touch the ground completely, instead move directly from the bottom position into the next rep. This keeps the muscles under continuous tension.
KI-generierte Darstellung
Why the hip thrust is one of the most effective strength exercises
In just a few years, this strength exercise has gone from niche move to a staple in many training plans. Here are seven reasons why.
1. Maximum glute activation
No other exercise targets the gluteus maximus as precisely. Since resistance is greatest at the top point, the muscle works exactly where it produces its full extension force. This makes the hip thrust a key exercise for visible glute muscle growth and explains its firm place in strength training for women.
2. Less strain on the spine
The big advantage over squats and deadlifts lies in the direction of load. There, the weight presses vertically down on the spine, while in the hip thrust it pulls horizontally across the hips. This largely eliminates vertical compression of the spinal discs, which is why even heavy loads can be moved in a relatively back-friendly way.
3. Easy to learn and finely adjustable
The technique is quick to learn, and small execution mistakes have less impact than in demanding compound lifts like squats or deadlifts. From bodyweight to resistance bands to a heavily loaded barbell, you can fine-tune the intensity to your level in small steps. This means every training level finds the right stimulus, from beginner to athlete.
4. High load capacity for heavy sets
The hip thrust can handle more weight than almost any other glute exercise. Choose a load so that you truly reach failure after eight to twelve reps. It’s precisely in this range that the stimulus on the muscle rises significantly and the desired hypertrophy effect kicks in. Since the weight can be increased in small increments via weight plates, the muscle stays challenged over months and continues to grow.
5. More drive for runners
Running is essentially an endless sequence of single-leg hip extensions. It’s exactly this movement that the gluteus maximus powers, pushing the body forward with every stride. Hip thrusts train hip extension in the horizontal direction of force, which closely mirrors the push-off in a sprint, far more directly than the vertical load of a squat. This benefits not just runners, but also soccer players and anyone who needs to accelerate explosively or change direction.
There’s also protection against overload. Strong glutes stabilize the pelvis with every ground contact, easing strain on the knees and lower back. In a training plan, hip thrusts and deadlifts complement each other perfectly. The deadlift builds the entire posterior chain including the hamstrings and back extensors, while the hip thrust contributes targeted end-range extension and maximum glute strength.
6. Counterbalance for a sedentary lifestyle
Long periods of sitting shorten the hip flexors and leave the glutes largely inactive. Over time, the body essentially forgets how to properly activate the glute muscles, an effect colloquially known as “glute amnesia.” The hip thrust wakes up this neglected muscle group, strengthens it specifically, and supports a more upright, stable posture.
7. Stable hips into old age
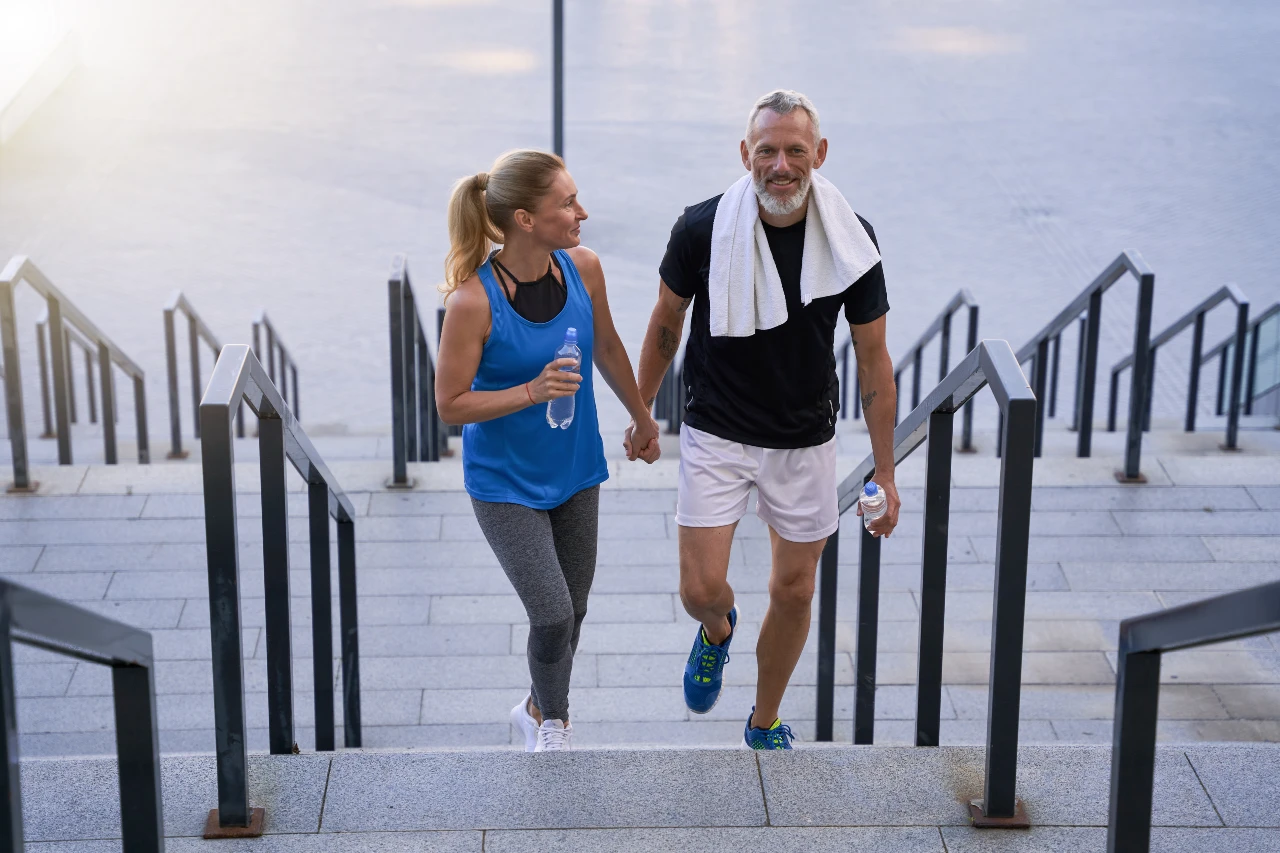
Strong glute and hip muscles support you through everyday life, climbing stairs, standing up, or carrying things. Building muscle in this area is especially essential with age: strong legs and a stable pelvis noticeably lower the risk of falls.
© Kostiantyn – stock.adobe.com
6 no-gos: mistakes to avoid with hip thrusts
The movement looks simple, but small details determine its effectiveness and safety. These 6 mistakes come up often, here’s how to fix them.
- Skipping the warm-up: Cold muscles work neither powerfully nor safely, costing performance and raising injury risk. Get your circulation going with five to ten minutes of cardio, for example on an ergometer or rowing machine. Then loosen up your hips with mobility exercises like leg swings, lunges to stretch the hip flexors, and bodyweight squats.
- Lower-back arch: If the hip is pushed too far, the pelvis tilts forward and the back takes over the extension. This strains the lumbar spine and takes tension away from the glutes. Stop once shoulders, hips, and knees form a line, pull the ribs toward the pelvis, and keep it tucked.
- Wrong foot position: If the feet are placed too far forward or too close, the shins won’t be vertical at the top. This pulls load away from the glutes and irritates the knee. Place your feet hip-width apart so the shins are vertical at full hip extension and the knee forms roughly 90°. Toes point slightly outward.
- Wrong contact point on the back: If the edge of the bench or couch is too high, you lose the pivot point and compensate elsewhere. The edge belongs at the lower to mid shoulder-blade area.
- Too much weight and partial reps: Loads that are too heavy usually lead to a shortened range of motion, momentum, or the back chiming in. The result? Less training stimulus, more injury risk. Choose a weight that allows eight to twelve clean reps with full hip extension, and perform each one under control instead of bouncing out of it.
- Tilting the head back: Looking up at the ceiling overextends the cervical spine and pulls the pelvis into a lower-back arch. Instead, direct your gaze slightly forward, chin slightly tucked toward your chest. This keeps the head and spine neutral.
Time to lift that butt up
Twice a week, two to three clean sets with maximum effort, and you’ll notice how quickly your glutes build and your hip extensors gain strength. You’ll feel it in everyday life too: climbing stairs gets easier, or your jog feels more comfortable and stable.
The key is simply to start with clean technique and only increase the weight once your form on the strength exercise is solid. You’ll find the right equipment, from weight benches to barbells, in the isports online shop or try it out directly in our showroom in Lupfig, easily reachable from Zurich, Basel, Bern, Lucerne, and Zug. Our staff there is happy to help with questions and offer personalized advice.